Showing posts with label how to's. Show all posts

Monday, September 5, 2011

How to Sew a Cape!

Hi, Samantha and I here! It has been our dream for a long time to sew a regency looking doll cape. You know, the kind they wore in the early 1800s to keep warm. I don't have any very heavy weight fabric, but I did have some fuzzy warm stuff to make it out of. My directions on how are sort of shadowy, but with a good sewing machine, this project should take 30 mins or less!


First kind of cut out a cone shape with a scoop top.
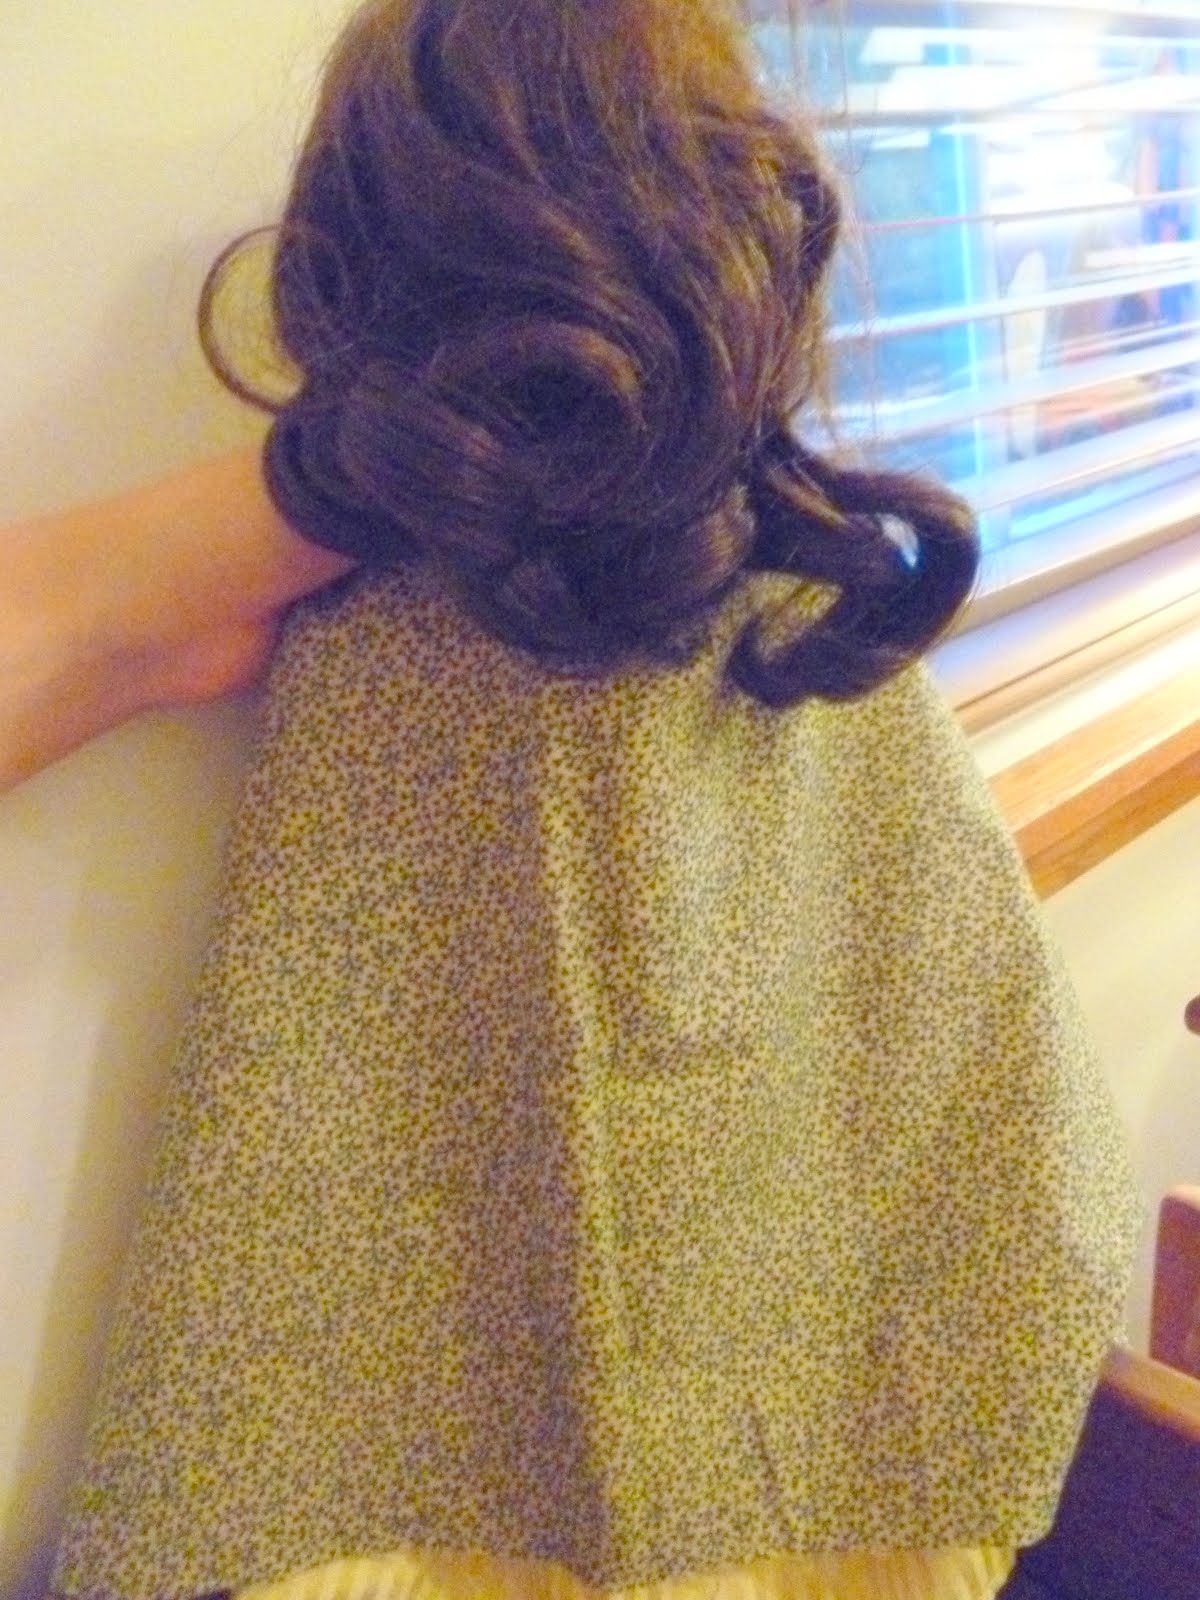
Measure it by putting it on your doll, and round out the corners or the bottom so they're not pointy.
Finish the edges (the two sides and hem the bottom) whatever way you want. Various people do it various ways.

Then...Make four little gathers on the neck of your cape.

Sew them on the machine!

Now, get a hooded jacket or something hooded that your own for you dolls and use it as a pattern for the cape's hood. Fold it in half and cut around it.

Like so. Finish the two STRAIGHT edges, NOT the rounded one.

See? Now, you'll need to sew  WITH RIGHT SIDES TOGETHER from there, where my finger is...

Around to there, where my finger is in this picture.

tada! Try the hood on your doll and make sure it fits!

Then sew the bottom of the hood to the neck of your cape.

Try it on. Now you need to measure for ties. You should know how to make ties if you know anything about sewing. Again, different people do them various ways.

Then, where the hood is long than the cape, sew the ties like I did in the photo.

And you're done! Here's what it's like with the hood down.


Hood up.

I hope this is helpful to you! Please comment if you decide to make one! :)
Happy Labor Day!

Friday, August 26, 2011

French Braid

I've had a few people ask me to show you how to do a french braid, so today I'm going to show you the simple straight french braid, 2 french braids, the half french braid and the "to the side" french braid.
First of all, French braids are EXTREMELY hard to do.That's why practicing over and over on a doll (not a human, they get bored too fast!) is a GREAT idea. Don't worry if it looks terrible at first. I've been trying to do it for a long time and only in the past few months have finally got it. Don't be discouraged..."If at first you don't succeed, try, try again." :)
Okay, so start with straight, brushed hair.

Grab some hair at the very tippy top of your doll's head. Make sure you start VERY high, or else you'll still have hair when you get the the base of the neck and the braid will get puffy.

Divide the hair into three sections and make one regular "braid stitch."

This is a bad photo, but it's hard to hold onto doll's hair and photograph it at the same time! You have to take the section on the left side and grab some hair to add to it. Then "braid stitch" again.

Now, do it on the right.

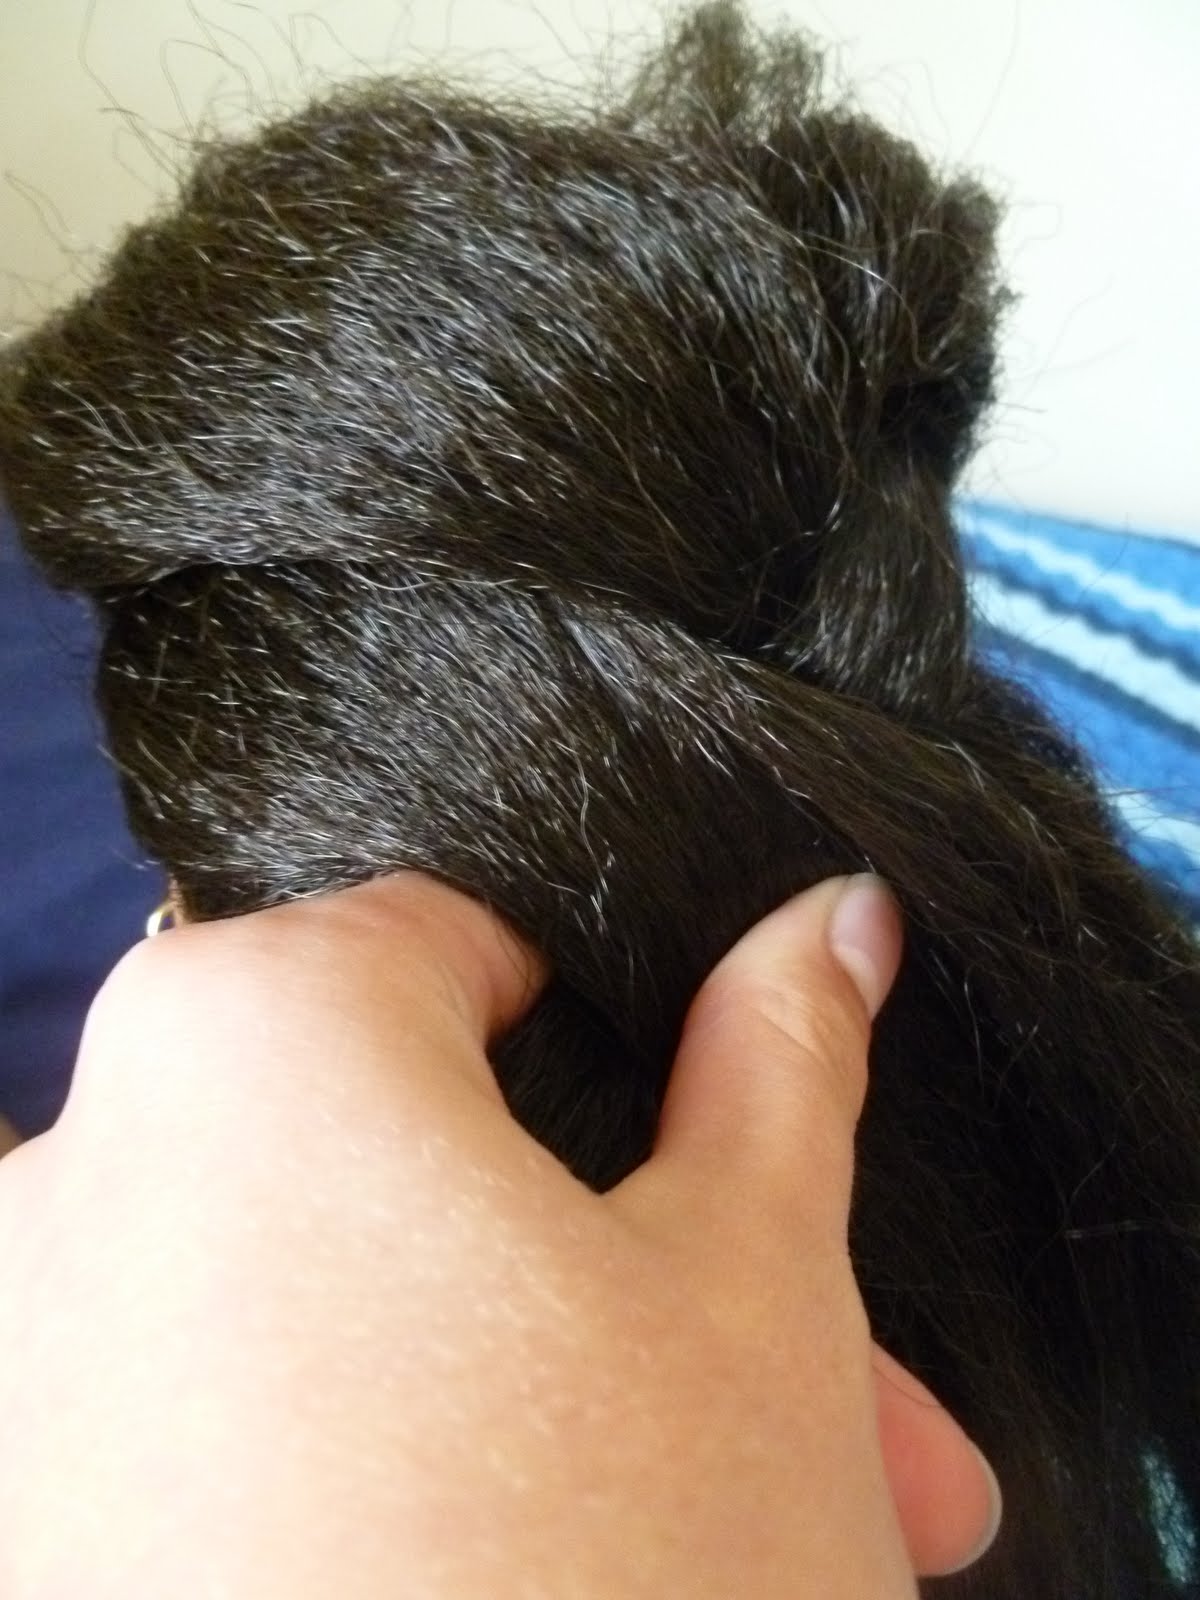
Keep going until you have all the hair into the braid, and finish off the length by braiding normally.

See? One tip: pull everything tight, so it doesn't get puffy, and make sure you grab the same amount of hair from each side, or else the braid won't be straight!

For two braids, just divide the hair in half...

And divide one side into three sections, then start french braiding just like you did above. Just in case you can't remember, here's the steps:
1. Divide into three sections
2. Do one braid stitch
3. Then grab even amounts of hair and add them to the section you're about to braid
4. braid normally when you've got all the hair included in your braid.


Tada!


This is the half french braid. It is easier than the French Braid. Grab a section on one side of your dolls head right up near the part.

Divide it into three sections.

Then, french braid, but ONLY grab sections from the side towards your doll's face.

See?

I love this one. When you get the back, you can just bobby pin it.

This one is really goofy, and advanced. You basically just french braid over the side of your doll's head!

I don't know if that's very clear or not, but hopefully it helps! Please feel free to ask me questions about French braiding! Practice practice practice, AND it may help if you ask someone who knows how to actually show you. :) It will become natural eventually!

Tuesday, June 21, 2011

Happy Summer...so I'm going to teach you how to make....

A scarf??? Yes! A scarf!!! I know it isn't quite scarf season yet, but I just learned a really cool skill, called finger knitting! Ever done it before? Well, now is your chance!
Get up from the computer and grab some yarn. All you need is that and some scissors.

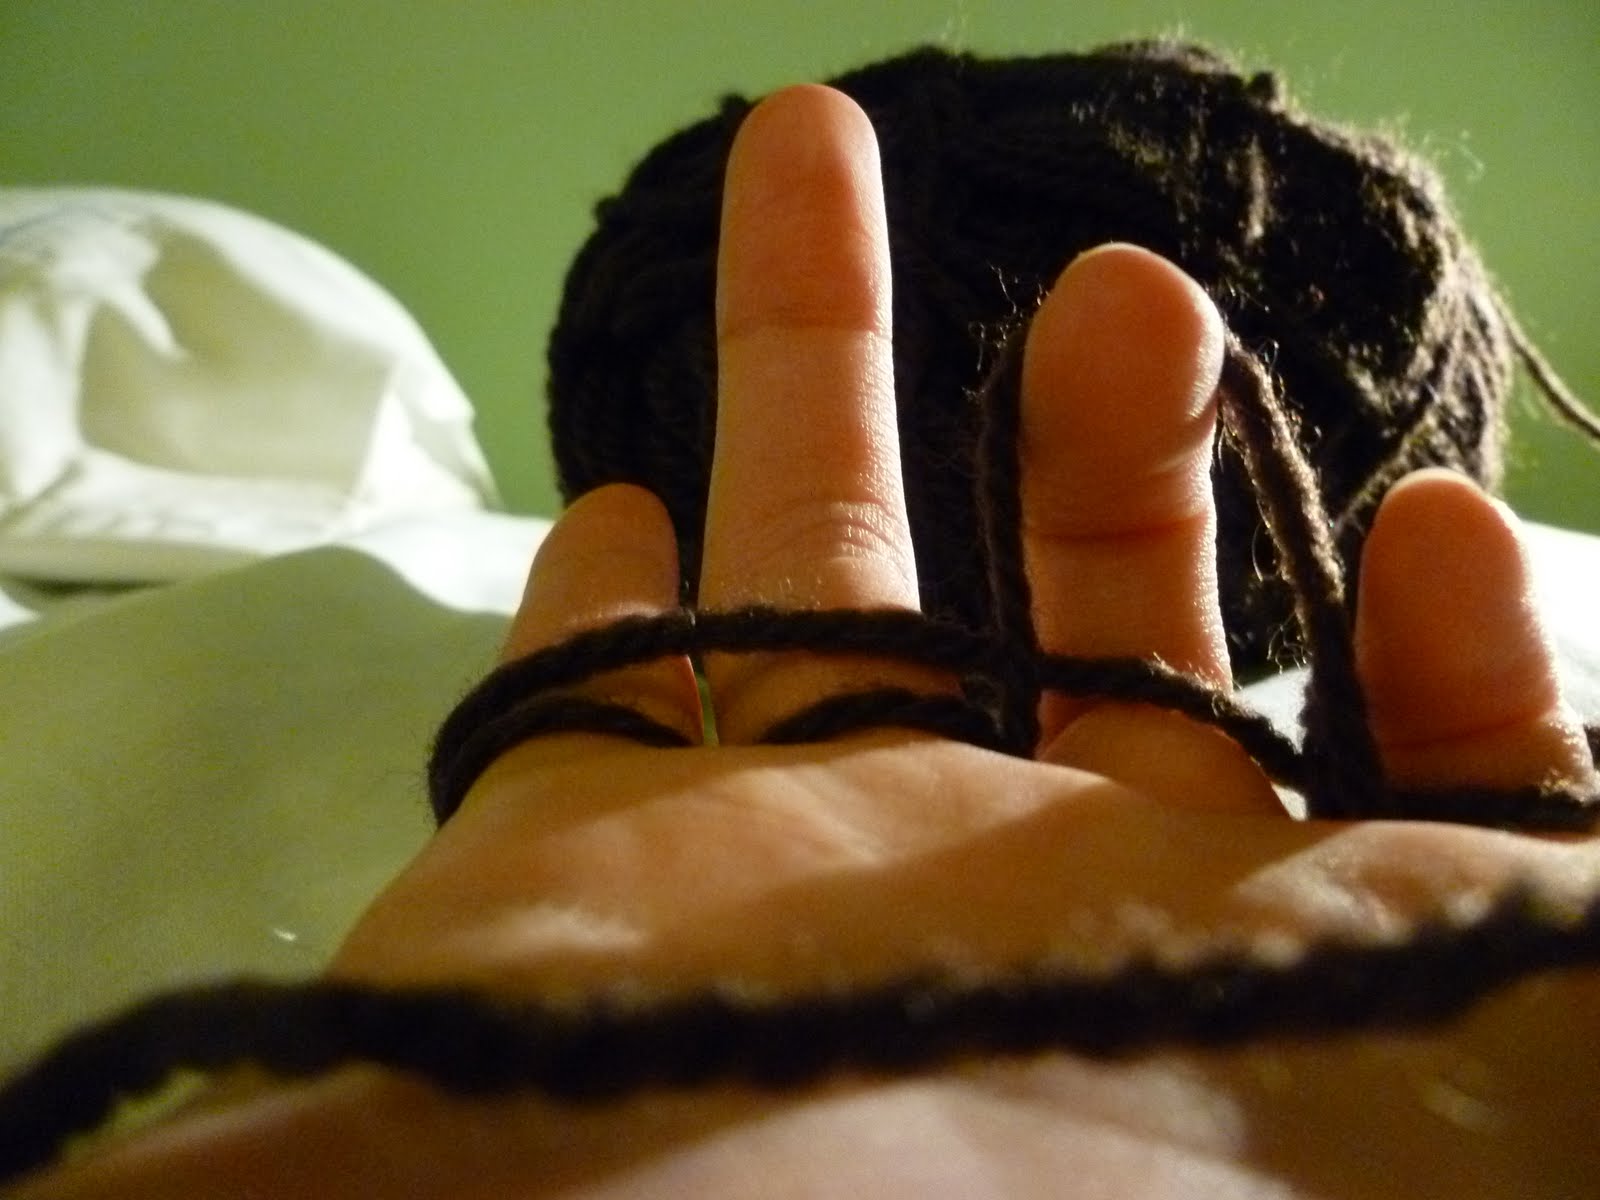
Lay the yarn across your palm.

Weave it through your fingers...

and do the rest...

Now, wrap the yarn around your hand...

and bring it over to the front!

Now, pull the bottom loop over the top look and bring your finger through!

Do it with each finger.

Another example of bringing the finger through.

The back looks a mess right now, but don't worry!

It will look like this when you bring all the loops over.

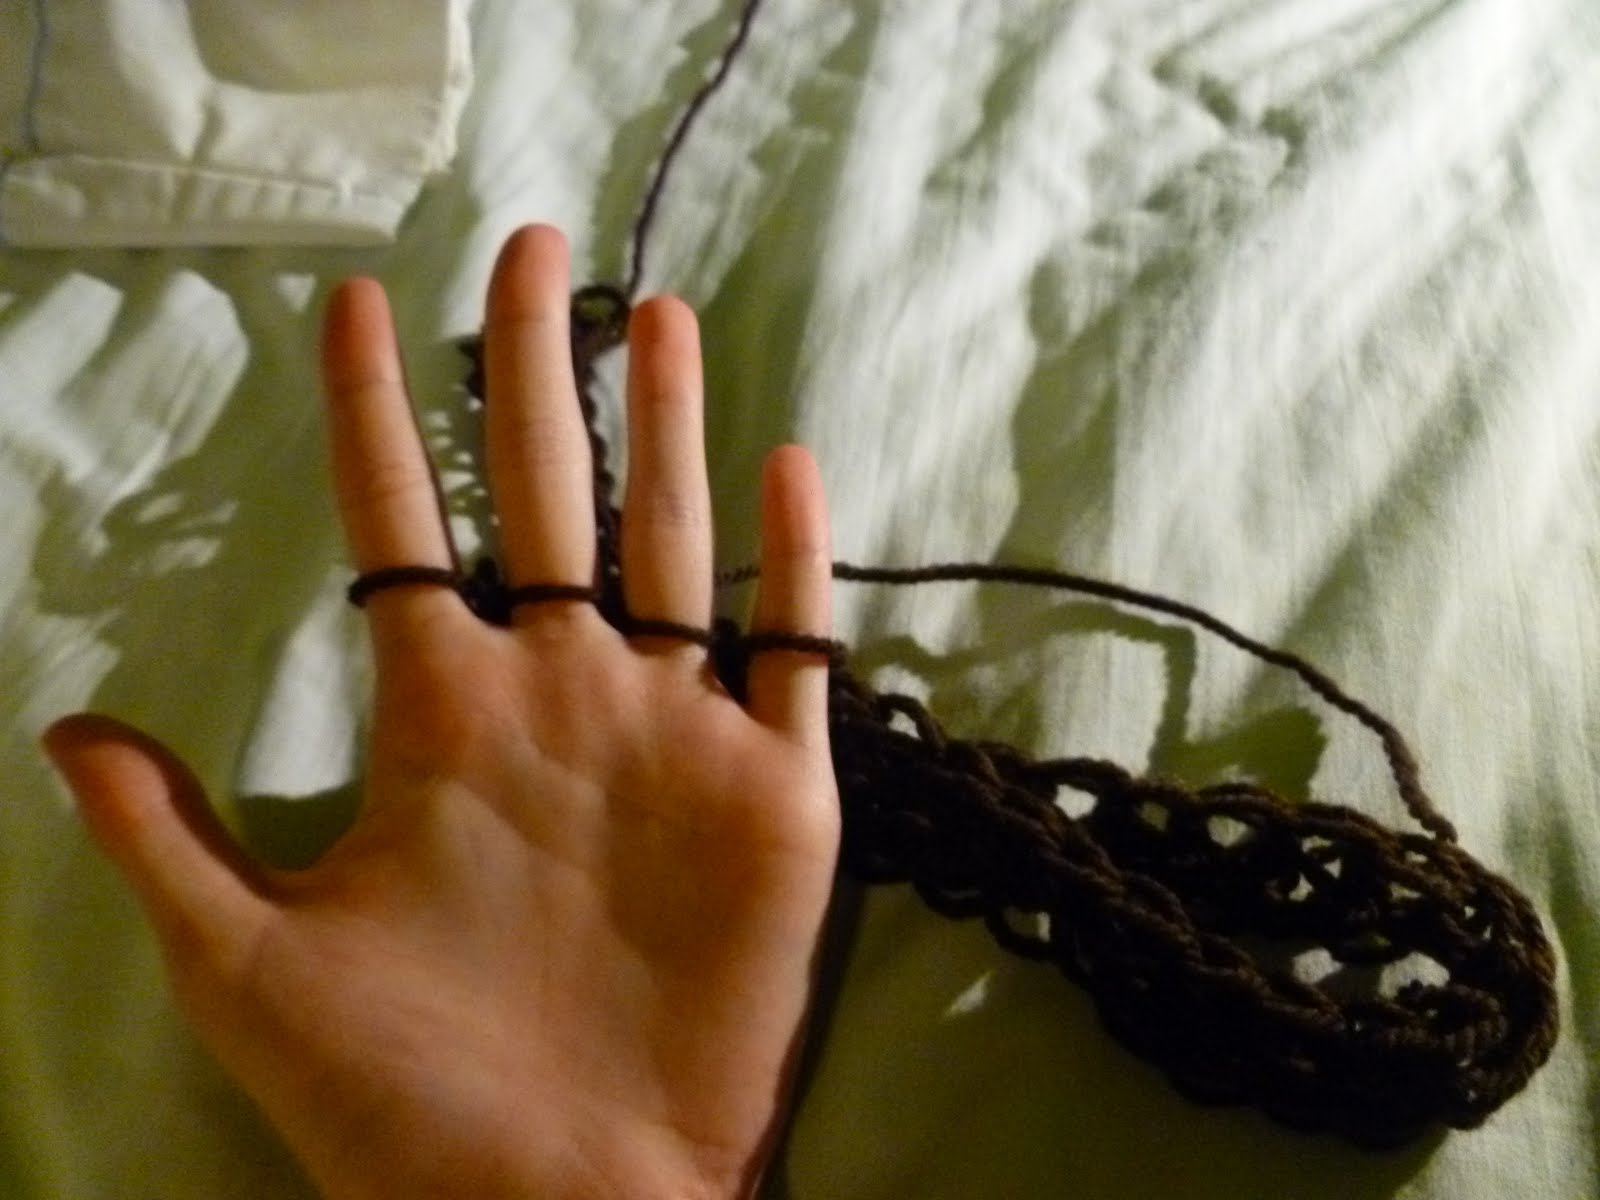
Wrap the yarn around your hand again!

It will start looking like this.

See?

It's getting longer....

and longer....


It's as long as I want it now!

So, snip off 4 inches or thread...

and weave it through the loops.

Slide it offf your fingers...

and tie it in a know! Cut off the excess yarn and repeat with the other side.

Done! Isn't that cool? It took me 15 minutes, max.

It looks awesome!


various ways of tying, plus you can use it as a belt!

Now is the time folks, stock up on your scarves now! Have you ever done this before? And also, will you do me a big favor? If you decide to do this, will you post a comment about it below? Thanks!