Tuesday, August 30, 2011

New AG Stuff! September

Wow, AG has released MORE stuff! Here are my favorites. I don't really love any of the new outfits, but I like these OK. AG is getting weirder and weirder with MAG outfits.

Merry and Bright Dress (cute for Christmas! I'm not a fan of the poncho top you can buy seperate, but I like this.) The doll it's modeled on is cute! :)

Kind of cute. :)

Adorable!

Awww! Love her!


Ohhhh...I want her for Christmas!

Friday, August 26, 2011

French Braid

I've had a few people ask me to show you how to do a french braid, so today I'm going to show you the simple straight french braid, 2 french braids, the half french braid and the "to the side" french braid.
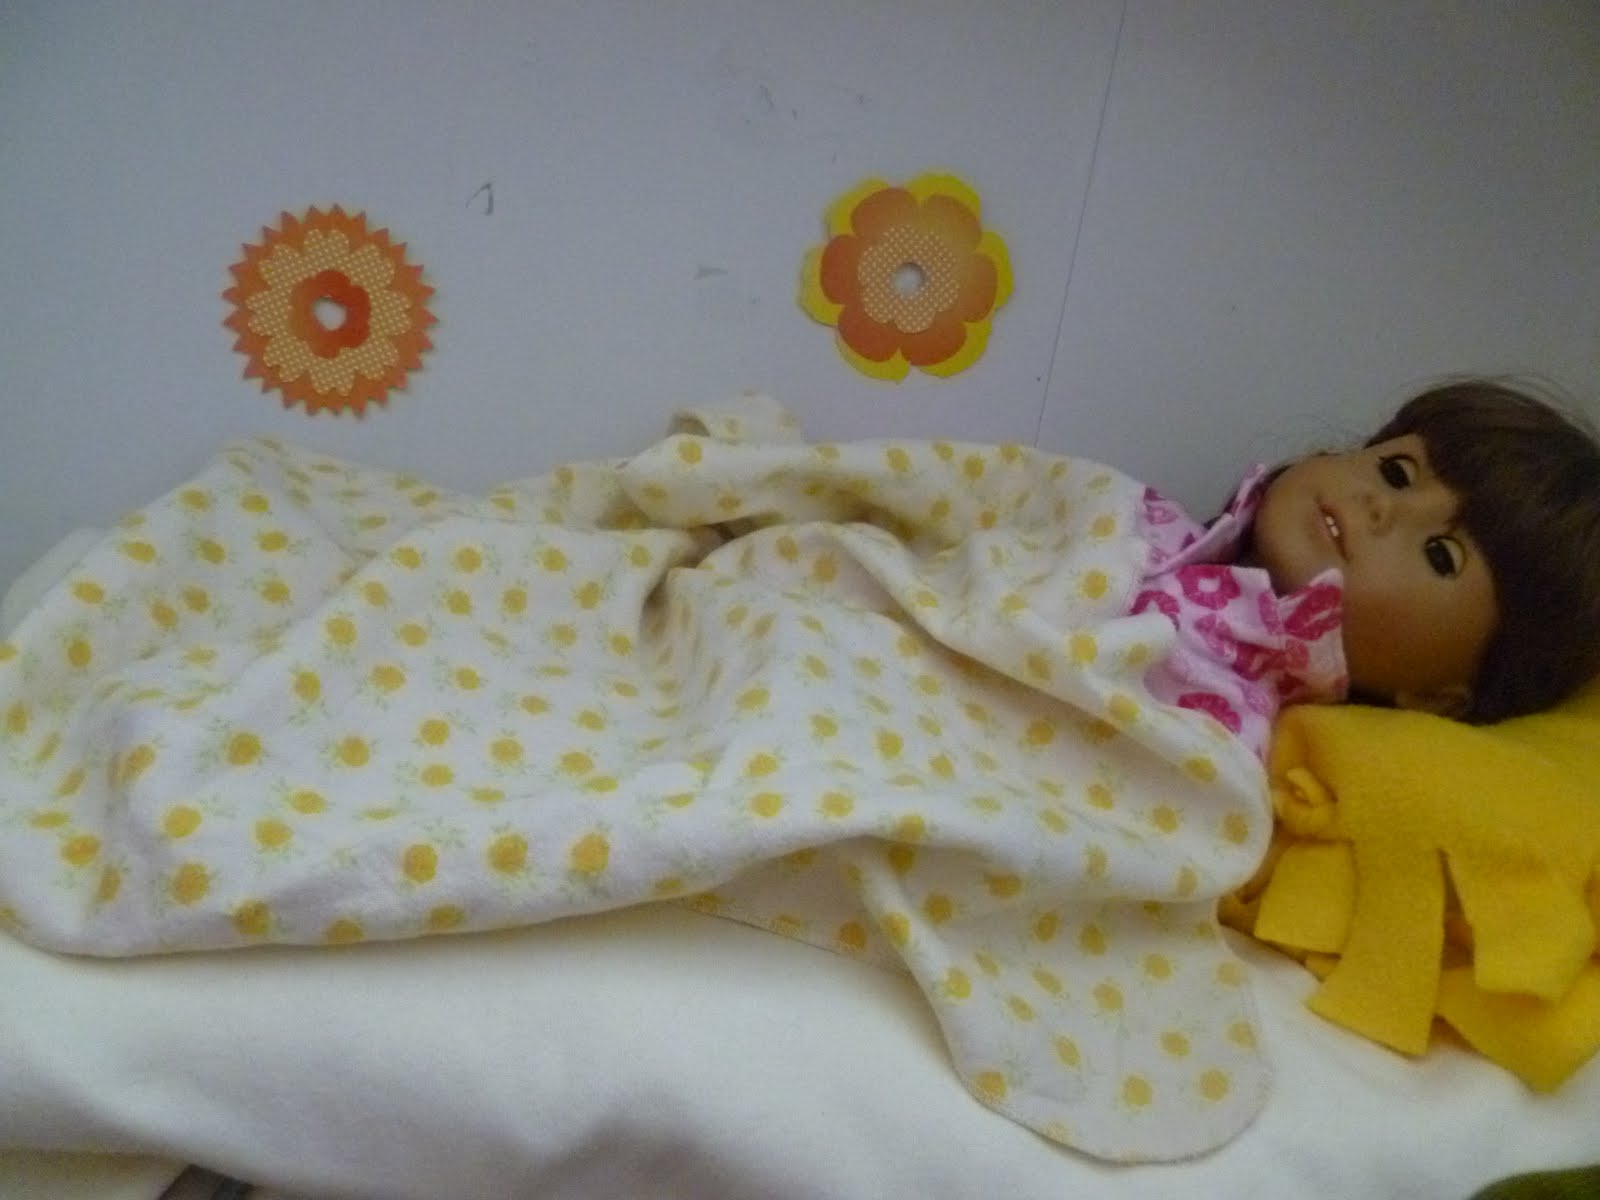
First of all, French braids are EXTREMELY hard to do.That's why practicing over and over on a doll (not a human, they get bored too fast!) is a GREAT idea. Don't worry if it looks terrible at first. I've been trying to do it for a long time and only in the past few months have finally got it. Don't be discouraged..."If at first you don't succeed, try, try again." :)
Okay, so start with straight, brushed hair.

Grab some hair at the very tippy top of your doll's head. Make sure you start VERY high, or else you'll still have hair when you get the the base of the neck and the braid will get puffy.

Divide the hair into three sections and make one regular "braid stitch."

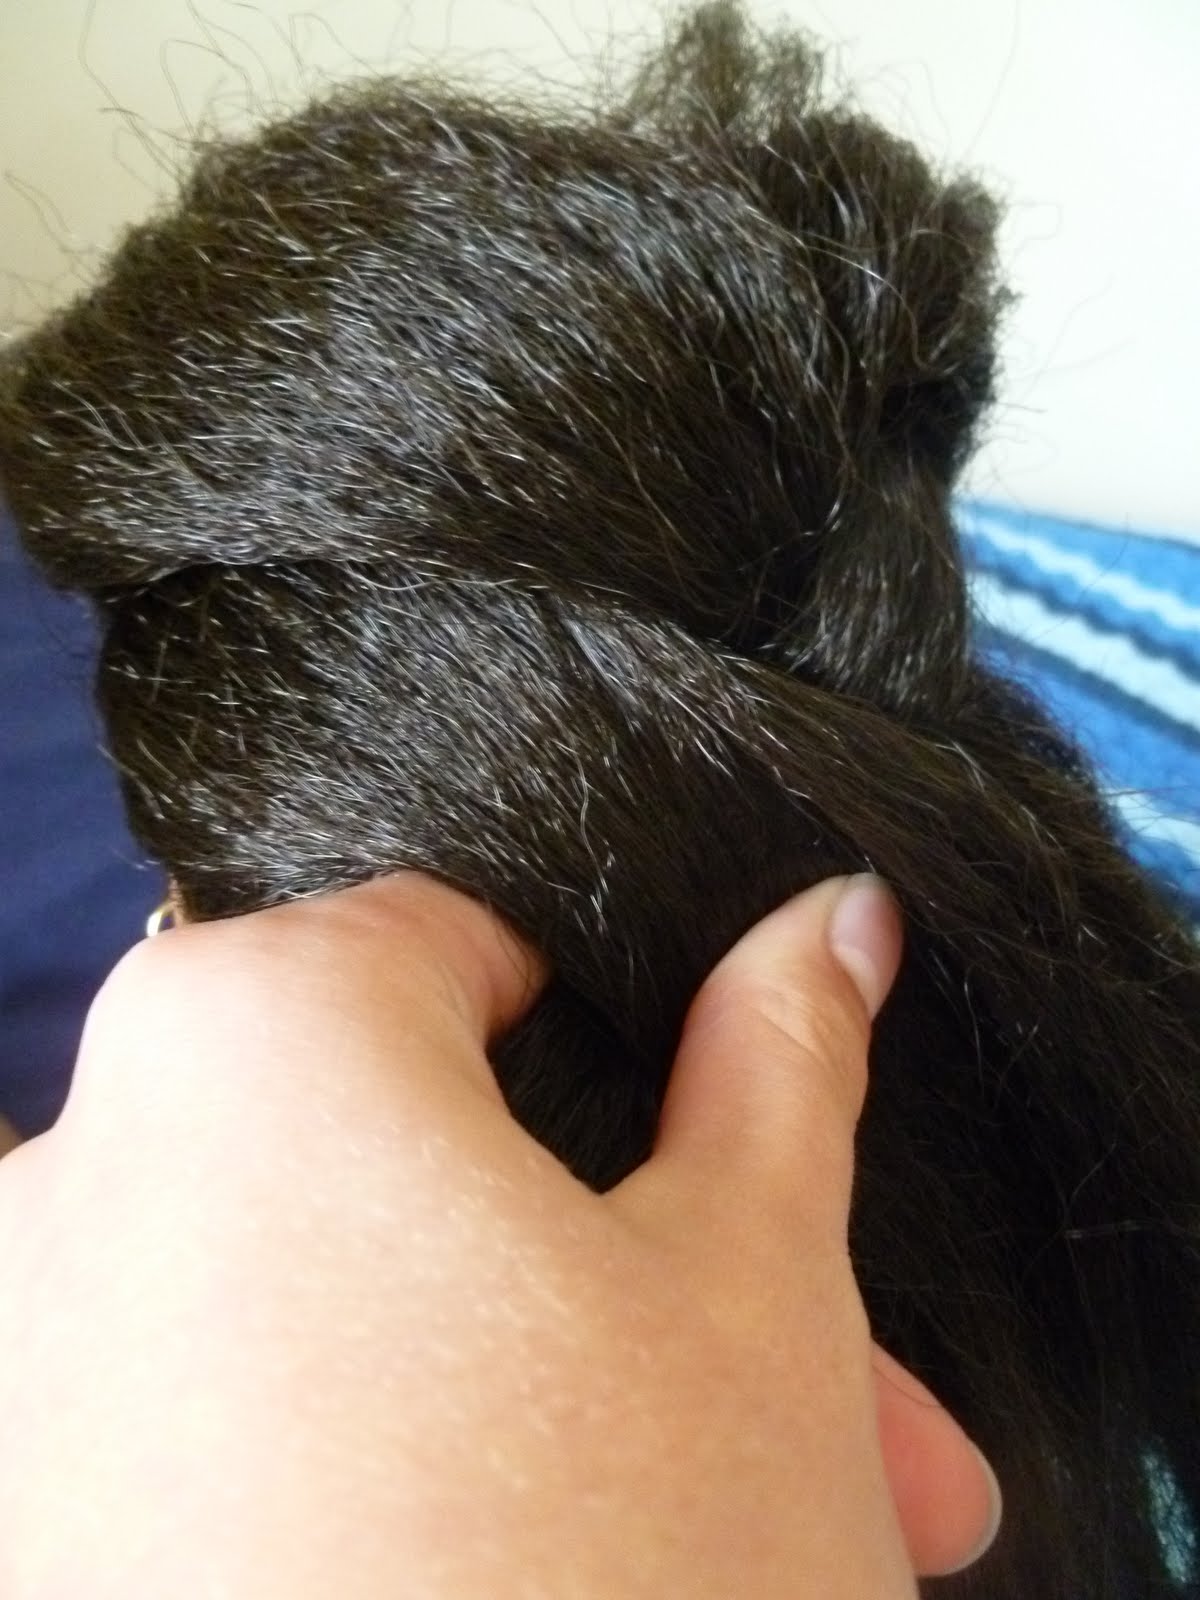
This is a bad photo, but it's hard to hold onto doll's hair and photograph it at the same time! You have to take the section on the left side and grab some hair to add to it. Then "braid stitch" again.

Now, do it on the right.

Keep going until you have all the hair into the braid, and finish off the length by braiding normally.

See? One tip: pull everything tight, so it doesn't get puffy, and make sure you grab the same amount of hair from each side, or else the braid won't be straight!

For two braids, just divide the hair in half...

And divide one side into three sections, then start french braiding just like you did above. Just in case you can't remember, here's the steps:
1. Divide into three sections
2. Do one braid stitch
3. Then grab even amounts of hair and add them to the section you're about to braid
4. braid normally when you've got all the hair included in your braid.


Tada!


This is the half french braid. It is easier than the French Braid. Grab a section on one side of your dolls head right up near the part.

Divide it into three sections.

Then, french braid, but ONLY grab sections from the side towards your doll's face.

See?

I love this one. When you get the back, you can just bobby pin it.

This one is really goofy, and advanced. You basically just french braid over the side of your doll's head!

I don't know if that's very clear or not, but hopefully it helps! Please feel free to ask me questions about French braiding! Practice practice practice, AND it may help if you ask someone who knows how to actually show you. :) It will become natural eventually!

Looking Back (8)

This week's picture was taken about 2 years ago, when Rebecca was a new doll! Molly was taking her out to show her how to ride Midnight! It is one of my favorite photos, the light is great and the girls look like they're having fun!

Monday, August 22, 2011

Back to School!

All of my dolls had a great first day! Here's what they did after school.
Ellen: eating her after school snack!

Milk and cookies!

Molly is working on some homework.

She's cutting out a current event from AG magazine to share with her class tomorrow!

Kit and Emily are practing for cheerleading tryouts later this week.

Rebecca is reviewing a book of famous paintings for art class.

Well, and Samantha? She's SLEEPING!

Fun idea for today:
Make drinks for your doll without messy paint and glue!

All you have to do is find something small the color of the drink you want. For the milk and cookies, I used doll undies!

Ball it all up, and there you have it: A glass of milk!

Here is a green smoothie...

And fruit punch!

Hopefully I will have some actual at school photos of my dolls here this week. I was pretty busy getting my own school started today!

Sunday, August 21, 2011

Back to School Count Down---7!

Last tip: THE NIGHT BEFORE SCHOOL BEGINS
Getting the right rest and preparing everything for the first day of school is essential the night before. Molly is going to help me show you what she is doing to prepare tonight.

Lay out her clothes. Make sure you have everything ready to put on in the morning.

Go to bed at a reasonable hour! You know the saying "Early to bed, early to rise makes a man doll healthy wealthy and wise!"

Get all the supplies out and ready that she will need, books, pencils, glue, scissors, stapler, camera....lunch money...get it together!

Make sure she washes her face...

...and brush her teeth!

Make sure your doll is comfortable.

Your doll can read for a few mintues to help make her sleepy.

And then off to sleep...plenty of rest is best!

Saturday, August 20, 2011

Back to School Count Down---6!

Today's new idea for your doll!
PACK THE PERFECT SCHOOL LUNCH!
Here is an overview of what you'll need.

Drinking sugary pop at school is a bad idea, and makes you lose focus while you're studying. Instead, drink water or organic milk with your lunch!

Pick a health sandwich to eat. This one is a BLT.

For something sweet, some fruit slices are great! Slice up some fresh apple and peaches for school lunch!

Need something crunchy? Chips and fries are unhealthy...but not carrots, celery and cucumber slices!

Now these are not so healthy, but a cookie is a great idea for dessert, especailly when made with farm fresh eggs, and organic milk.

Put everything in your lunchbox...and, don't forget the napkin!

Close it up tight...

and it's ready for school!